
XML Instance provides a facility to validate your XML documents against a schema. If you set a schema to an existing document, XML Instance will perform an initial check to ensure the document conforms to the rules outlined by the schema. This conformance check continues with each change that is made to the document. (See Checking for Errors for more information). If you set a schema to a brand new document, XML Instance will use the schema to "jumpstart" your document, automatically adding all required attributes and elements into the Tag area and default values into the Edit area. (See Create a Document for more information.)
To apply a schema to a new or existing document, click the Set Schema... button on the Toolbar or choose Set Schema... from the File menu. An Apply Schema dialog box appears which allows you to browse and select a schema file. To select from schema files having a particular format, click on the down arrow button in the "Files of type" box, and select a format from the drop-down list.
Note: Right clicking on the Set Schema button will allow you to select from a drop-down listing of recently applied schemas (Figure A).
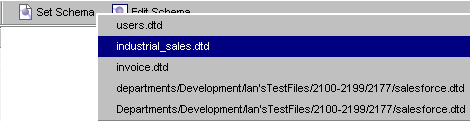
Figure A - Select a recently used schema
Upon selecting your schema, Instance will prompt you to specify a root element for your document. A default value will appear based on XML Instance's best guess as to the root of the schema you have selected. If the default value is correct, simply select OK and the schema will be loaded. If the default value is not correct, type in the name of the root you would like to use. If you decide that you do not want to set the schema, click cancel.